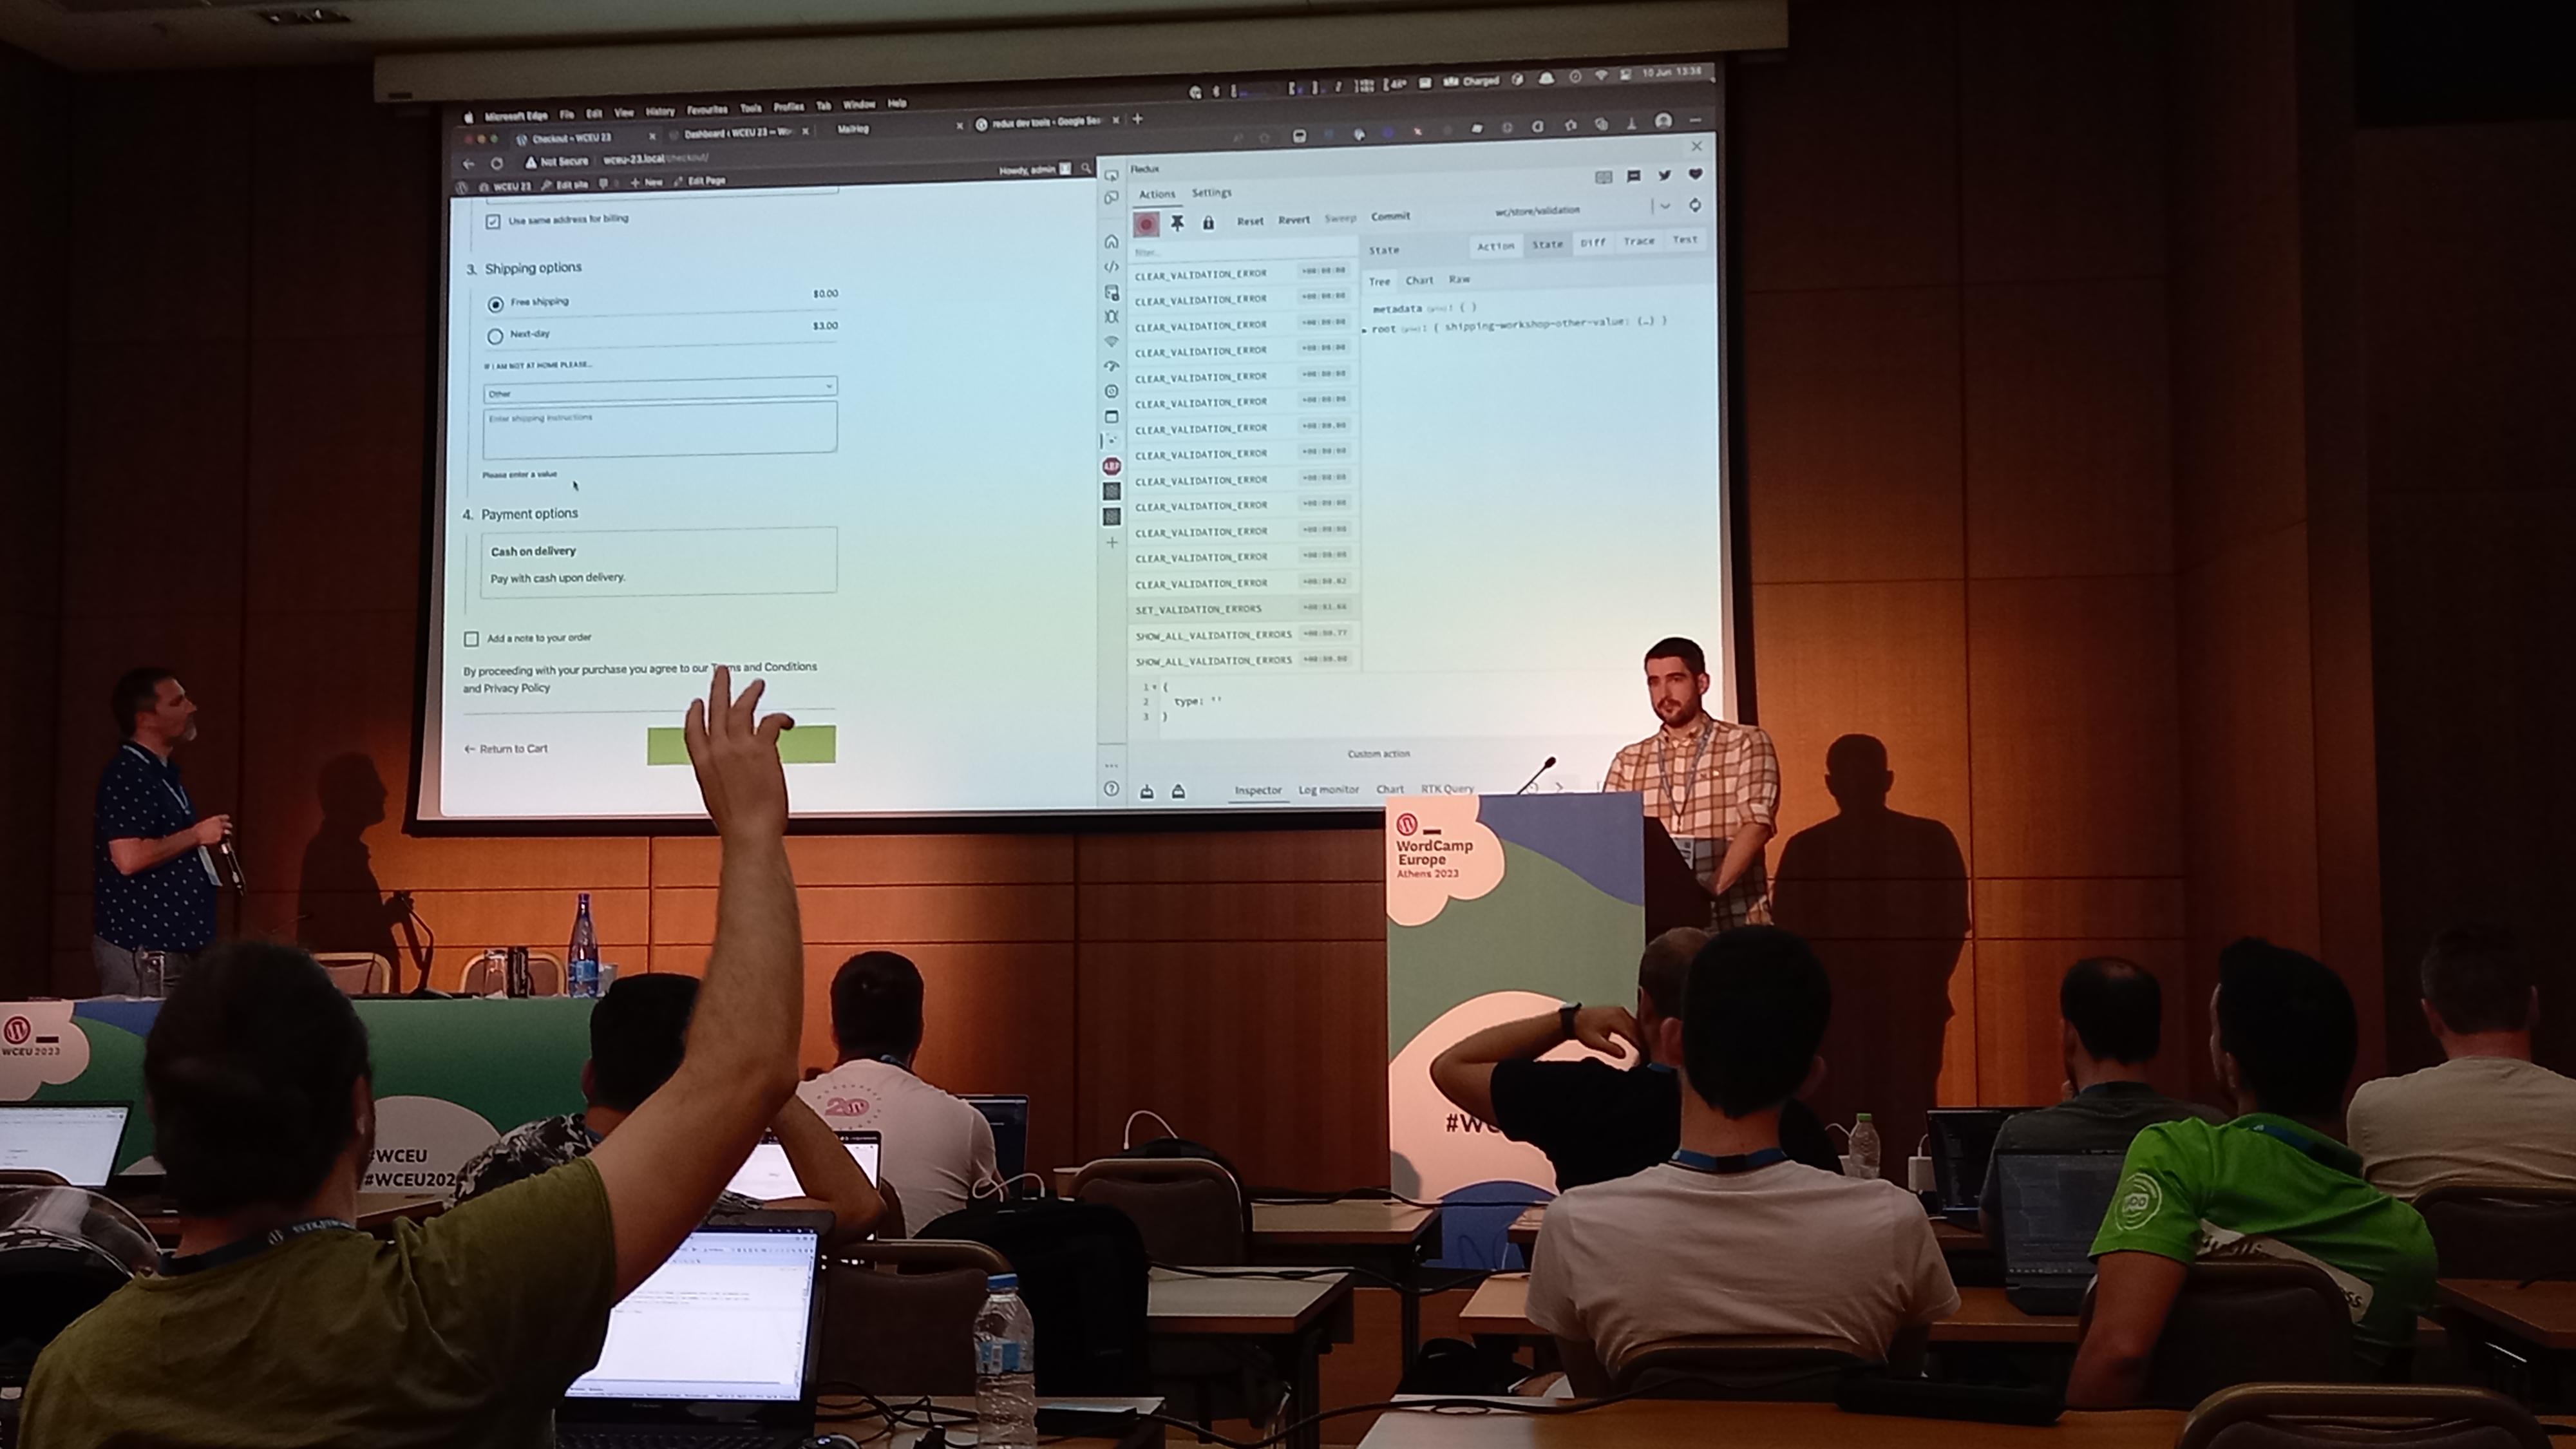
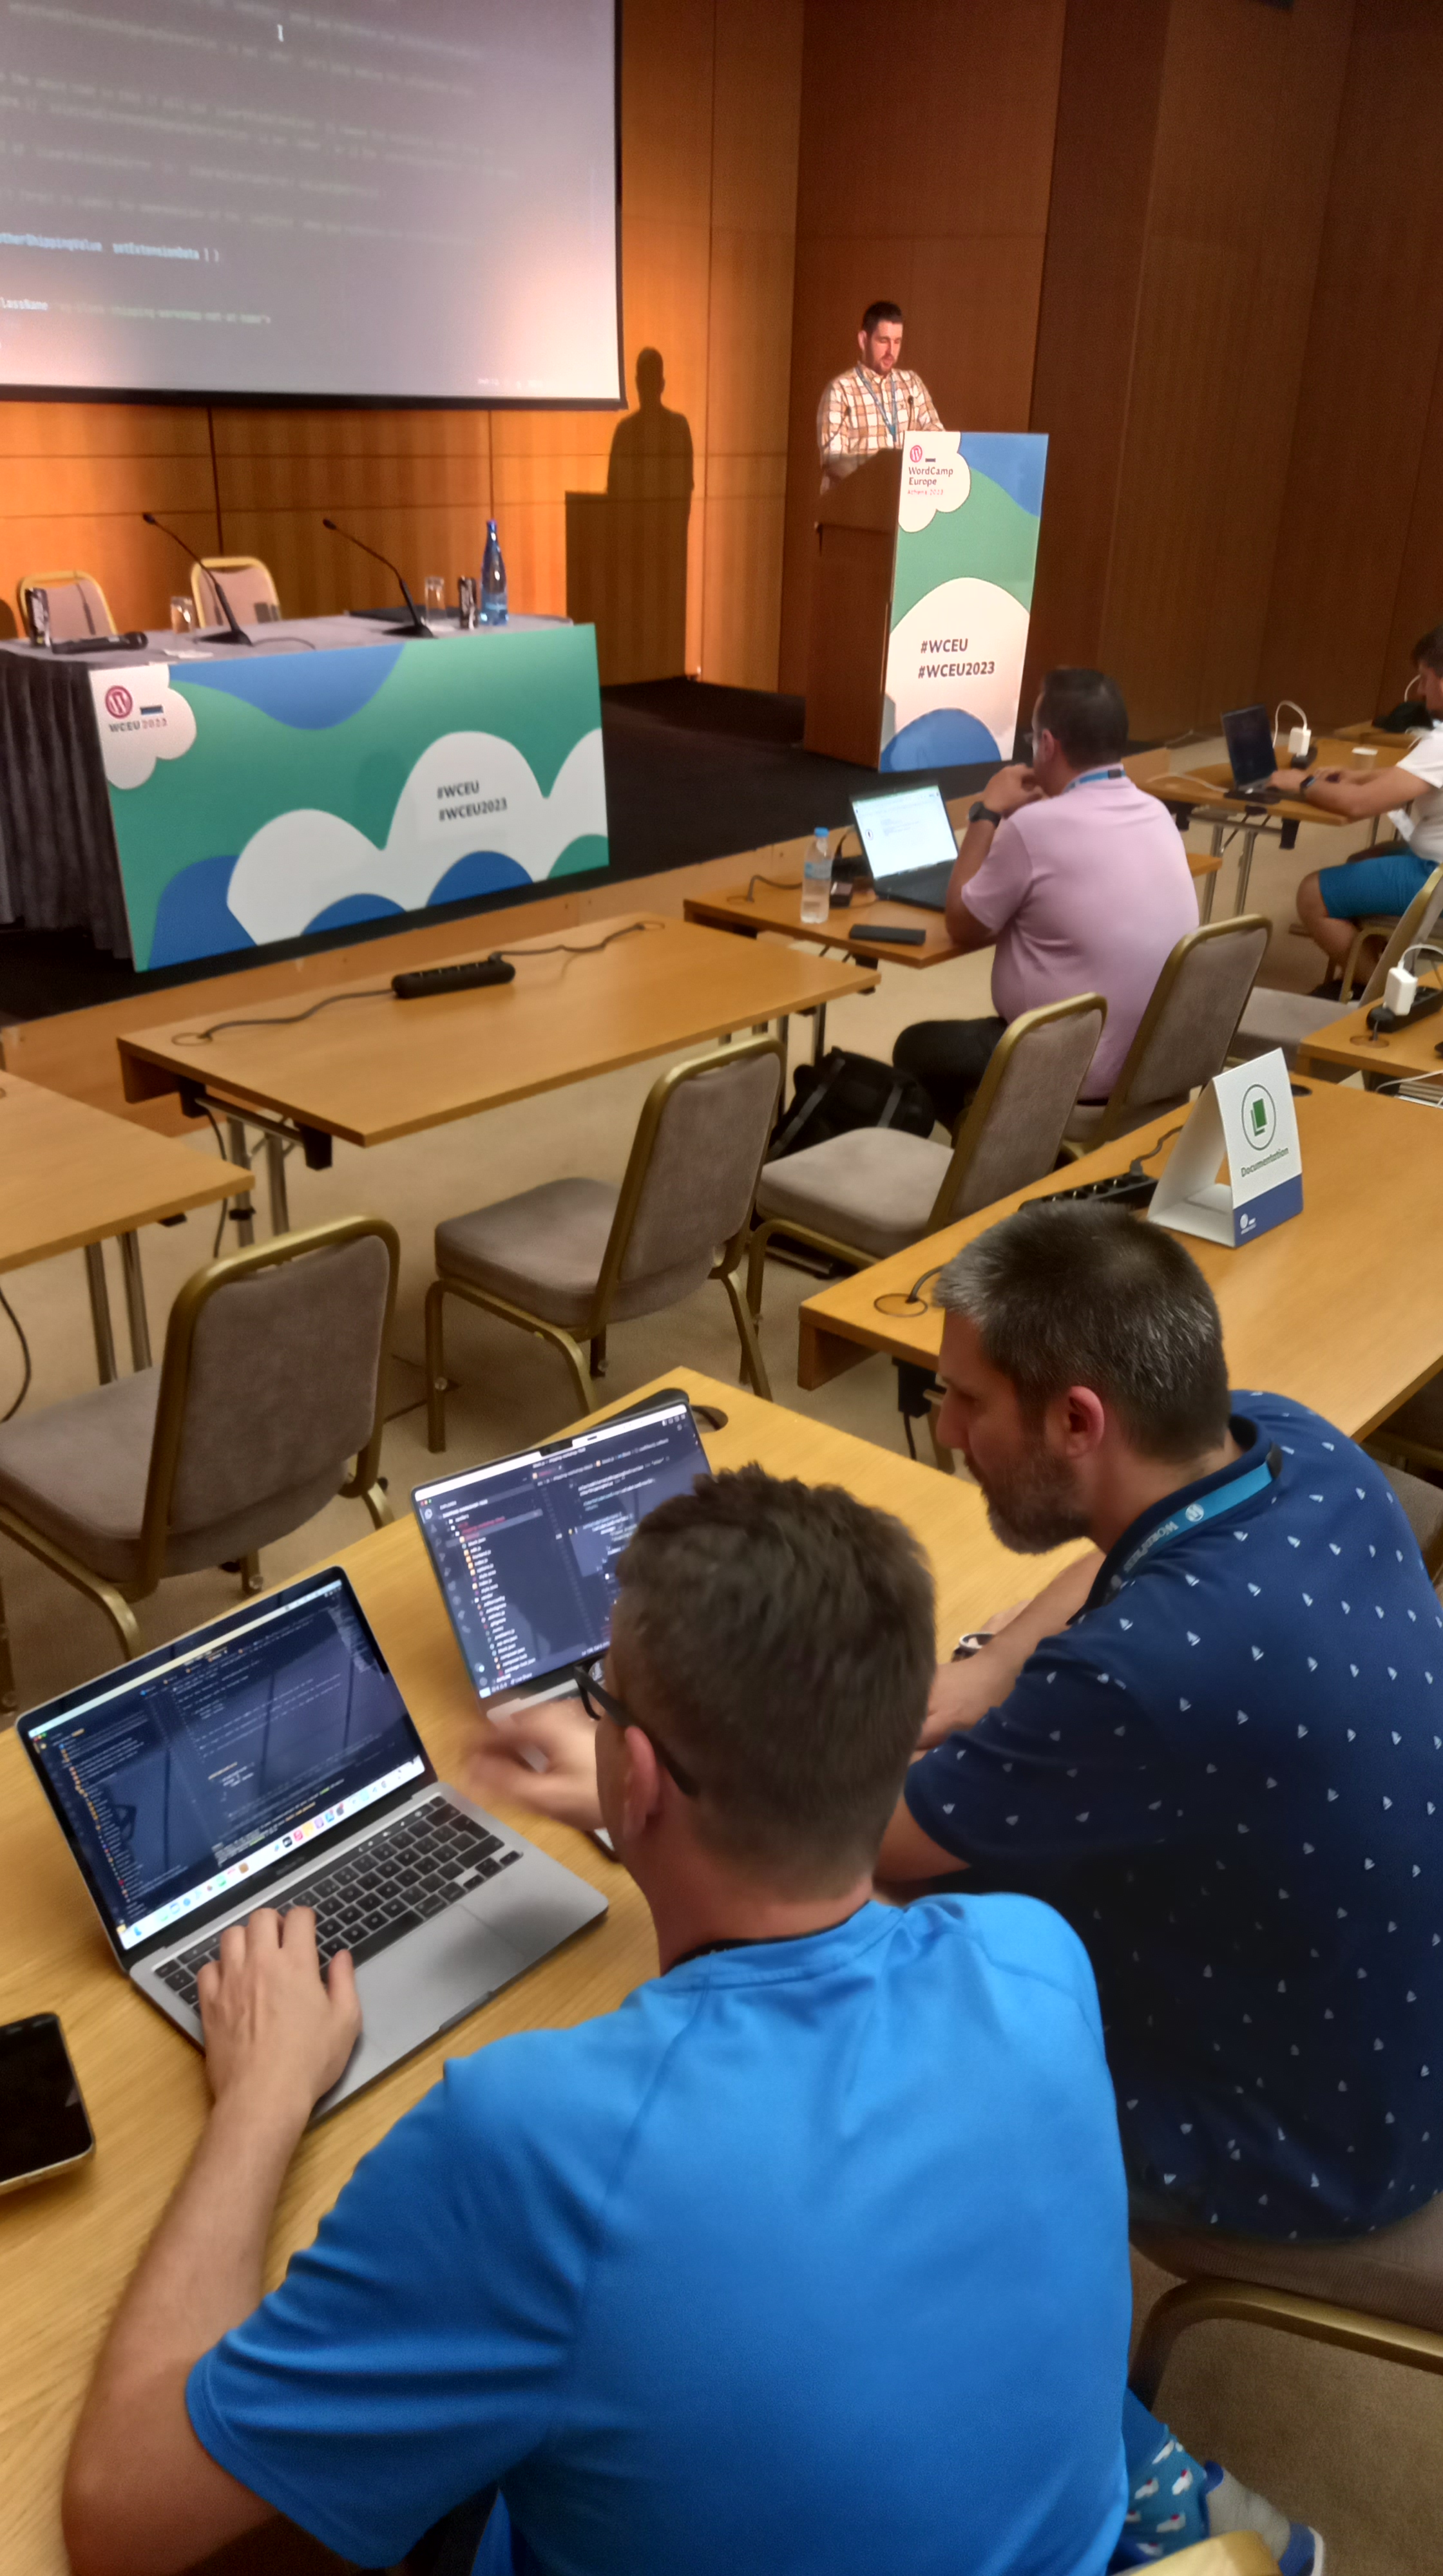
A few weeks ago, I was lucky enough to be at WCEU 2023 – Athens and had the opportunity to attend some of the workshops. In the workshop by Thomas Roberts (@opr18) and Niels Lange (@nielslange), we walked through the process of extending the WooCommerce Checkout block to include a “Not at home” shipping option.
The workshop delved into the extensibility interfaces offered by WooCommerce Blocks, demonstrating how they can be utilized to modify and personalize the WooCommerce Checkout block.

The tutorial
The tutorial uses a code package which consists primarily of JavaScript and some PHP code that can be used to enhance the shipping functionality of your WooCommerce store. You may follow the step-by-step instructions available inside the code package itself, or you may follow the guided video tutorial at the end of this post.
Spoiler: A completed version of the tutorial can be found at this GitHub repository.
Prerequisites
Before we begin, make sure you have met the following requirements:
- A development environment with a blank WP installation (e.g., Local by Flywheel)
- WooCommerce plugin installed and activated
- Checkout page with the WooCommerce Checkout block added
- Basic knowledge of JavaScript (React)
- IDE/Code editor (e.g., Visual Studio Code)
- Node or NVM (Node Version Manager) installed
- Redux Dev Tools installed (Chromium / Firefox)
Getting started
- From your terminal, go to the folder
wp-content/plugins - Run
npx @wordpress/create-block -t wceu23-shipping-workshop shipping-workshopto create a new block project calledshipping-workshop - Set up a shipping method and payment method in your WordPress site. The workshop recommends using Cash on Delivery or Bank transfer as they are the easiest methods to set up
- Navigate to the
shipping-workshopdirectory using the commandcd shipping-workshop - Install the Prettier package by running
npm i -D prettier@npm:wp-prettier@2.6.2 - Start the development server by running
npm run start
Understanding the Code
To understand and utilize the code, it is important to have a basic understanding of React and the Gutenberg block editor. If you are new to React or Gutenberg, we recommend referring to the official documentation:
Files needed for the implementation
The index.js file in the project folder is configured as the entry point for Webpack when building the final files. It is responsible for importing and registering the block type on WordPress. This file typically imports the block’s edit.js and save.js files and registers the block using the registerBlockType function provided by the @wordpress/blocks package.
The edit.js file is responsible for rendering the block in the Gutenberg editor interface. The edit function describes the structure of your block in the context of the editor. It is used to define the block’s edit mode.
The block.json file provides metadata about the block. It defines the block’s name, title, icon, category, attributes, and other settings.
- The lock attribute is an object that controls whether the block can be removed or moved. By default, the lock attribute is set to allow the block to be removed and moved. However, by modifying the lock attribute, you can “force” the block to be non-removable. For example, you can set both remove and move properties to false in order to prevent the block from being removed or moved.
- The parent attribute specifies the parent block that this block should be nested within it. It determines where the block will render. In our example, the block is a child of the
woocommerce/checkout-shipping-methods-block. This means that the shipping-workshop-block will be rendered within thewoocommerce/checkout-shipping-methods-block.
The block.js file in our example is the main entry point for the block and handles the block’s state and user interactions in the editor and frontend.
The frontend.js file registers the block’s component with the WordPress editor using the registerCheckoutBlock function from the @woocommerce/blocks-checkout package. It imports the block’s component, metadata, and other necessary dependencies, and ultimately handles the component in the frontend. This is an API exposed by WooCommerce as an official way for registering frontend rendered React components for the Checkout block.
The options.js file is used to list and define the extended shipping options.
The shipping-workshop-blocks-integration.php file handles the integration and functionality of the checkout-shipping-methods-block in WooCommerce. It registers scripts and styles and handles the saving and displaying of shipping instructions.
The shipping-workshop-extend-store-endpoint.php extends the Store API and adds hooks to save and display shipping instructions.
Updating the code
To customize the WooCommerce Shipping Workshop Block, you can follow the instructions provided in the code comments that start with the 📝 emoji. These comments highlight areas where you can make modifications or updates.
For example:
<pre class="wp-block-syntaxhighlighter-code">/**
 * External dependencies
 */
import { __ } from '@wordpress/i18n';
export const options = [
	{
		label: __( 'Try again another day', 'shipping-workshop' ),
		value: 'try-again',
	},
	/**
	 * [frontend-step-01]
	 * 📝 Add more options using the same format as above. Ensure one option has the key "other".
	 */
];
</pre>In this section, you will want to follow the instructions to add more options to the list. The result would look something like this:
<pre class="wp-block-syntaxhighlighter-code">export const options = [
	{
		label: __( 'Try again another day', 'shipping-workshop' ),
		value: 'try-again',
	},
	{
	    label: __( 'Leave with neighbour', 'shipping-workshop' ),
	    value: 'leave-with-neighbour',
    },
    {
	    label: __( 'Leave in shed', 'shipping-workshop' ),
	    value: 'leave-in-shed',
    },
    {
	    label: __( 'Other', 'shipping-workshop' ),
	    value: 'other',
    },
];
</pre>🛟 Feeling stuck? We have some lifesavers
Feeling stuck and not sure how to solve the 📝Step you are on? You can always refer to the completed project here to unblock yourself, or you can refer to the /spoilers folder inside your repo or in the completed package here to find solutions to specific prompts in the 📝Step code comments.
Leave a Reply